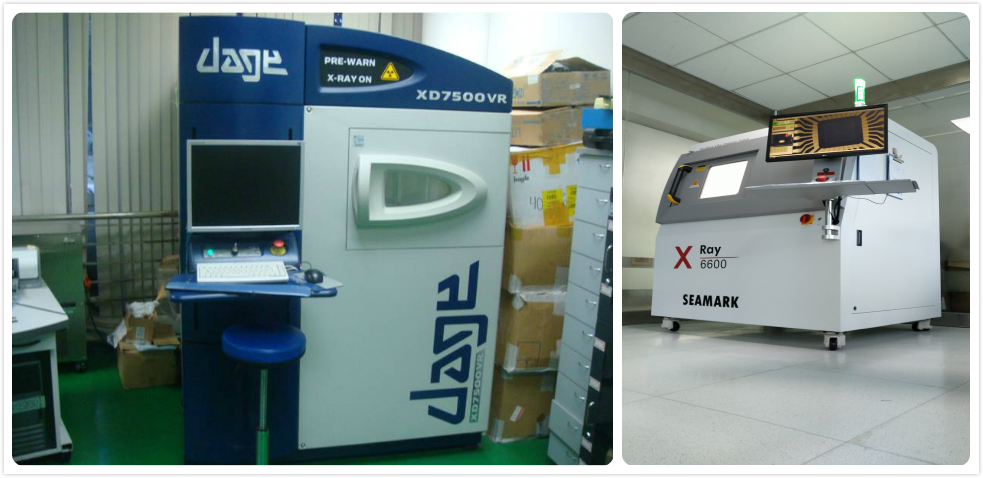
Introduction to application and standard of X-ray testing technology
Date:2021-10-28 16:33:00 Views:3941
We should know that X-ray has strong penetration. It is a kind of ray that cannot be seen by human eyes but can penetrate objects. This penetration can penetrate many substances that are opaque to visible light, such as ink, paper, wood, electronic equipment, etc. It produces different absorption or scattering characteristics of rays according to the different composition, density and thickness of the inspected workpiece, so as to obtain the judgment of the quality, size and characteristics of the inspected workpiece. The following contents are sorted out by the core detection network for your reference.
X-ray testing: radiographic testing technology can be divided into the following four application types.
1. Quality inspection: it can be used for casting and welding process defect inspection.
2. Thickness measurement: it can be used for online, real-time and non-contact thickness measurement.
3. Article inspection: it can be used for airport, station and customs inspection to measure the structure and size.
4. Dynamic research: it can be used to study dynamic processes such as trajectory, explosion, nuclear technology and casting process.
Advantages of X-ray flaw detection:
The X-ray real-time imaging is intuitive, the photographic film can be stored for a long time, and the sensitivity of nondestructive testing for thin-walled workpieces is high. It is sensitive to volumetric defects, the plane distribution of defect image is true, and the size is measured. There are no strict requirements for the surface finish of the workpiece, and the material grain size has little effect on the test results. It can be applied to the internal defect detection of various materials. Therefore, it is widely used in the welding quality inspection of pressure vessels.
Disadvantages of X-ray flaw detection:
It is insensitive to surface defects, radiation is harmful to human body, radiation source is expensive and protection cost is higher. Radiographic method has a long negative evaluation cycle and low detection sensitivity for thick wall workpieces.

Brief introduction and application scope of common standards for industrial X-ray flaw detection
1. Radiographic inspection standards for boiler and pressure vessel industry in China:
JB/T4730. 2-2005 nondestructive testing of pressure equipment Part 2: radiographic testing
GB / t3323-2005 radiography and weld quality classification of fusion welded butt joints in steel
2. American Standard: ASME Section V, division a, Chapter II, Division B, Chapter 22;
3. National standard:
Dg1410 --- 2006 radiographic testing (General requirements)
DG1410. 1 --- 2006 code for radiographic inspection of steel butt joints
DG1410. 2 --- 2006 radiographic inspection procedures for butt joints of small diameter pipes
DG1410. 3 --- 2006 radiographic real-time imaging inspection gauge for butt joint of small diameter pipe
4、JB/T4730. 2-2005 standard divides the quality of weld radiography into three levels: Level A, level ab and level B (different levels, photographic sensitivity, clarityContrast (different)
Class B is generally used for weld inspection of Nuclear Vessels;
Class A is a low level, which can be applied to weld inspection of general structural members;
AB is the intermediate level, which is mainly used for the inspection of pressure butt welds of boilers and pressure vessels;
5、JB/T4730. 2-2005 standard divides weld quality into four levels;
Level 1 is, which is commonly used for butt weld quality acceptance of equipment with special requirements;
Level 2 is mainly used for quality acceptance of important pressure butt welds of boilers and pressure vessels.
Level 3 is mainly used for quality acceptance of general pressure butt welds of important structural parts, boilers and pressure vessels.
4. RT inspection shall not be conducted for products that are extremely low and require grade 4 qualified weld quality.
In general, radiography can intuitively display the size and shape of internal defects in the workpiece, so it is easy to determine the nature of defects. Radiographic negatives can be used as the original records of inspection for multi-party research and long-term preservation. However, the cost of X-ray film and other equipment used in this method is high and the inspection speed is slow. It is only suitable to detect volumetric defects such as pores, slag inclusions, shrinkage cavities and looseness, which can be qualitative but not quantitative, and is not suitable for structures with cavities. The inspection sensitivity of diagonal welding and T-joints is low, and it is not easy to find cracks with small gap, incomplete fusion and other defects, forgings, pipes Internal delamination defects of bar and other profiles. In addition, radiation is harmful to human body and appropriate protective measures need to be taken.


 Weixin Service

 DouYin
 KuaiShou


